How to Add an Employee
Create and set up a new employee in the following steps:
-
create a customer, and
Step 1. Choose or Create an Organization
Open the organization's page to add employees. You can search for the organization in the registry of organizations (Master data → Organizations) or use quick search.

If the organization is not in the system yet, you should create it.
Step 2. Create Departments
On the organization's page, open the Employees tab. If you need to distribute employees between departments, add the departments.
Step 3. Create an Employee
Click Add employee under the right department and enter employee's data.
Step 4. Open an Individual for the Employee
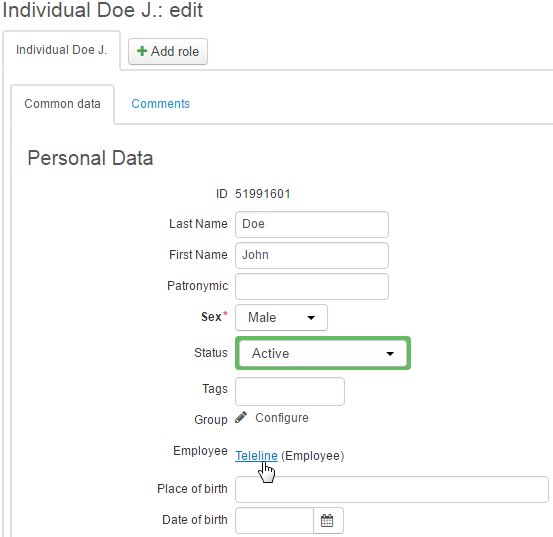
Search for the added employee in the staff list and click the link in the Full name column. A corresponding individual page opens. See the new row Employee with the link to the employer organization and employee's position.
Step 5. Create a Customer
The employee will be able to use the system after you add a customer role to him or her.
Click Add role on the individual's page and choose Customer.
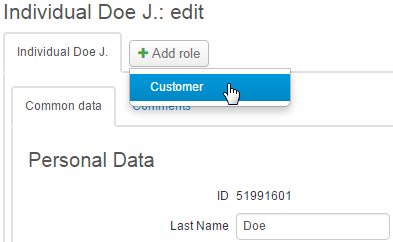
Fill in customer data and click Add. A new customer is created.
If a person is both your employee and your customer, set him or her up according to the Adding a new customer manual.
Step 6. Grant Permissions
On the Permissions tab of the customer page add a binding to your division. On the Network services tab in the Access to applications section add access to the Service Provider Console. A password will be generated automatically, and you can change it in the Password column.
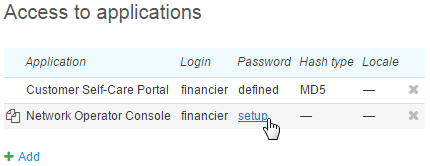
Grant permissions depending on the employee's responsibilities. For more information on granting permissions and changing passwords go to the Permissions section.