How to Add a New Customer
Creating and setting up a new customer is done in a few steps:
Step 1. Creating a Basic Subject
In Hydra Billing, a customer is a role of a basic subject, so before adding a customer, you should create a corresponding individual or organization. If it does not exist in the system yet, use instructions for registering individuals or organizations
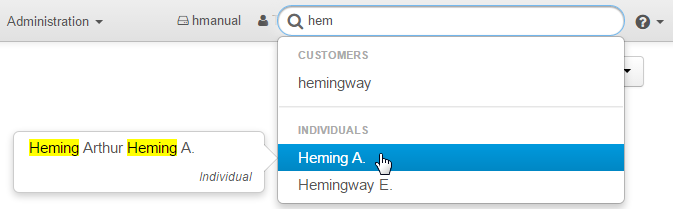
If a basic subject has already been added, open it from the registry of individuals or organizations, or use quick search, entering a short name for an organization or the last name for an individual.
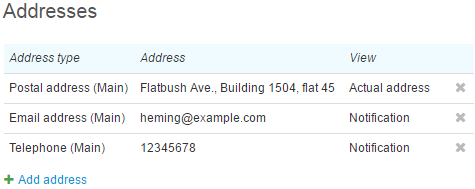
To specify the service address for the CPE, you should add this address to the individual or the organization. It is preferable to add customer's phone number and the email — later they will be useful for automatic notifications.
Step 2. Creating a Customer
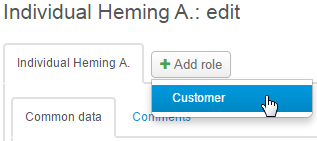
Click Add role on the basic subject's page and choose Customer.
Enter the customer's details, choose Inactive status and click Add.
Step 3. Creating Customer Accounts
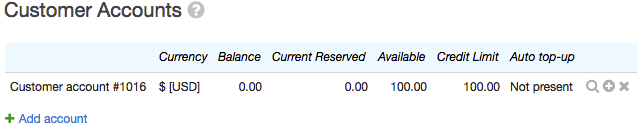
After the customer is added, you should create customer accounts, which are charged for provided services.
To create a customer account, click Add account on the General tab of the customer's page. You can add one or several accounts to a customer — in the first case, all services are paid for using one account, while in the second case, you distribute services to be paid from different accounts, for example, so that a customer pays separately for the Internet and phone services. Advantages and disadvantages of these schemes are discussed in the corresponding section.
Step 4. Creating Contracts
Next step in the setting up a new customer is to create contracts. Click Add document in the Contracts section on the General tab, and a new contract page opens.
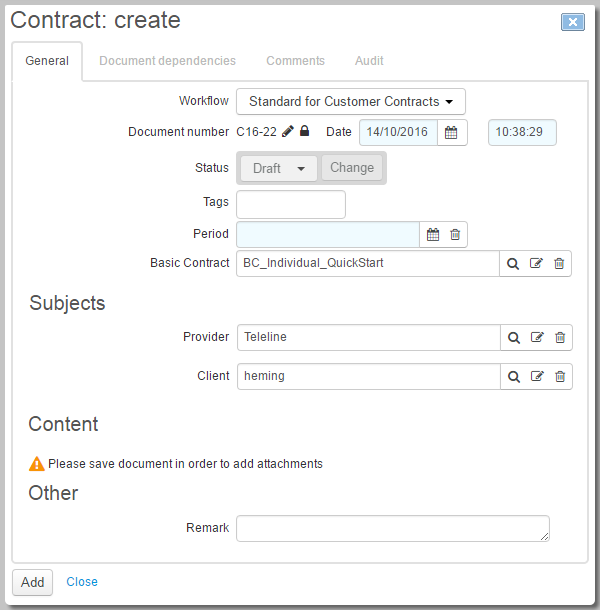
If a number created by autonumbering does not fit, click  next to Document number to delete the connection with autonumbering, confirm the deletion, and type a new document number.
Enter Period for the contract. If you leave Period empty, it is automatically populated with the start date the same as at the time of document creation, and the end date not specified, i.e. the contract is termless.
Specify the basic contract. Provider is populated with the current service provider, and Client with the current customer.
Click Add. In Status, choose In force, and click Save. If the customer needs an individual price plan, add the corresponding price specification to the new contract. Close the contract page, and the new contract will appear on the customer's page in the Contracts section.
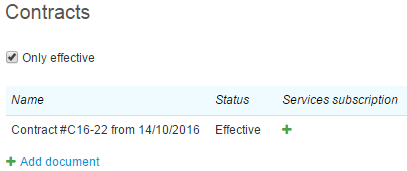
When necessary, the customer can have several contracts and be provided different services according to corresponding contracts, for example, one contract for phone and one for the Internet services.
Step 5. Creating and Setting Up CPE
A customer can be either an individual equipment owner, or a component owner (a telephone, a VPN port) of the existing equipment (a PBX, or a VPN concentrator correspondingly). To learn how to create equipment, see the corresponding section.
Customer equipment is shown on the customer's page.
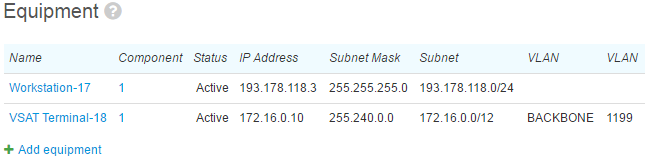
To manage the equipment via events, the customer equipment's components are bound to network services: it can be a program firewall, a shaper, ets. To edit these bindings, click the component name in the equipment table, then go to the Bindings tab.
In the Direct section, click  Add. Choose Binding type, for example, Network connection, to bind equipment to the switch port, or Connection management, to bind to a shaper or a firewall. In Object 2 enter a network service or other provider equipment, in Component 2 choose a component if necessary, for example, a switch port.
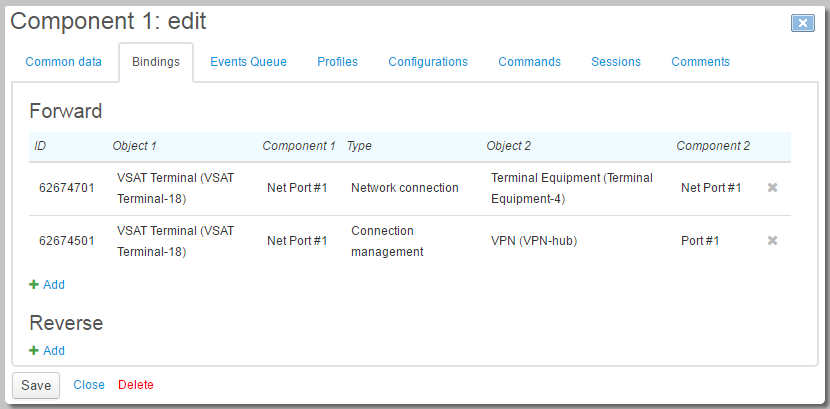
Save changes and close the window.
Step 6. Subscribing the Customer to Network Services
If the customer authentication is done via login and password (dial-up, PPPoE, etc.), you should subscribe the customer to the corresponding network service. Do it on the Services tab of the customer's page.
Step 7. Subscribing the Customer to Services
After the customer has the contract, the account and CPE created, you can subscribe him or her to services.
In the Contracts section of the customer's page choose the row with the required contract and click in the Subscriptions to services column. In the popup window, click Add, so a new row appears in the table.
Choose an account which should be used for payments, equipment for the services to be provided, and a necessary price plan.
Start date is automatically populated with the current date when saved, and you may leave End date empty, so the subscription is termless. In Monthly billing date you may enter a certain day, or leave it empty; the the latter case, the charging date is determined by the charge log issuing date, i.e. the date is floating. Leave Charge log end date empty. Click Save and close the window.
If the customer has multiple accounts or contracts, you should follow the abovementioned steps for each of the services to be provided to the customer.
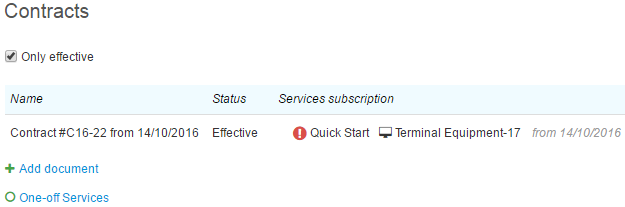
You can click One-off services to rate services which haven been provided to the customer only once, for example, to charge for connection, or for cabling.
Step 8. Customer Activation
A customer needs to be activated to be provided with services: on the General tab of the customer's page choose the Active status and click Save.
A list of services, which are to be provided to the customer, is shown on the Services tab in the Ordered services section.
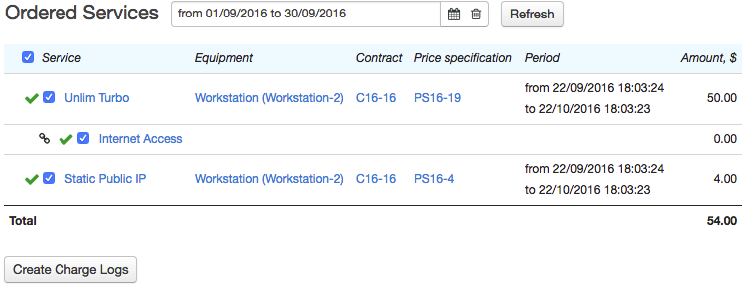
Services cannot be provided until the charge logs for them are issued. Typically, charge logs for recurrent services are issued automatically, but you can issue them manually, without waiting for the system task execution, by clicking Issue charge logs.
To have charge logs issued, the customer is to have sufficient funds on the customer account to pay for the chosen services. If you want services to be provided before receiving a payment, you can grant a temporary credit limit to the customer: open the customer's account page by clicking a row in the Accounts table; enter a sum, sufficient for the chosen price plan, in Temporary credit limit; specify the credit limit period — the end date until which the customer can use the service without paying. Save the changes and close the page.
Step 9. Access to the Self-Care Portal
The Customer Self-Care Portal allows the customer to perform typical operations by themselves (for example, change a price plan), and also to receive information on contracts, CPE, current or previously provided services.
Bind a customer to a division on the Permissions tab of the customer's page.
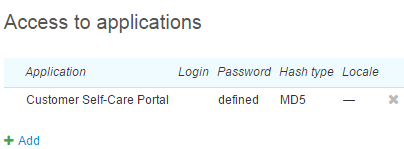
To manually grant an access to the Self-Care Portal (including a password) to the customer, click Add in the Access to applications section of the Network services tab. In the Application column, choose Customer Self-Care Portal, specify the login (otherwise, the customer code is used as a login), set a password.
Another way to grant access to the Self-Care Portal to the customer is to print out the customer's record using a corresponding print template. The record contains information concerning the created customer, including CPE, addresses, access passwords, etc.
Click  Print in the upper right-hand corner of the customer page, choose the Customer record template, so the Preview substitutes window opens, in the Access to applications section select the necessary applications, click Get file. Then the customer is granted access to the chosen application, and a random password is generated and shown in the formed file.
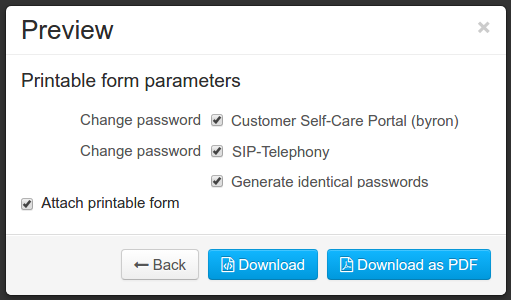
You can use the customer record in the similar way to set passwords for network services — a check box for the network service password change will be shown on the customer's print template as soon as a network service subscription is created.