How to View and Edit Entities
In this section
You can work with subjects, objects and documents using their pages. Create page opens when you add a new entity to the registry:
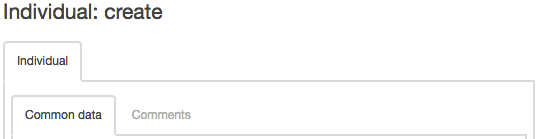
You can open a page of a previously created entity by using registry search and the corresponding link in the results table or using quick search:
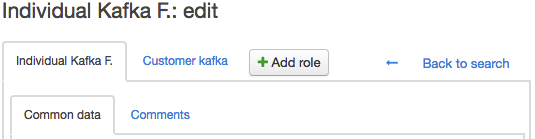
The page includes a header and two rows of tabs. In the top row for subjects, in addition to tabs for the relevant individual or organization, there are tabs for the subject's roles in the system. The lower row of tabs enables you to view and edit the properties of an entity selected with the top tab. Here is the tab Comments, for all system entities, where you can add comments and keep reminders. The names of active tabs are highlighted in black.
The  Back to search button is shown if the page was opened by a link from the search results table and allows you to return to the results list. Using
  you can save information in a format suitable for printing by selecting one of the previously created print templates. If a print template hasn't been set for any given subject, object or document, the button will not be shown.

There are buttons to save your changes or to delete the selected entity at the end of the page.
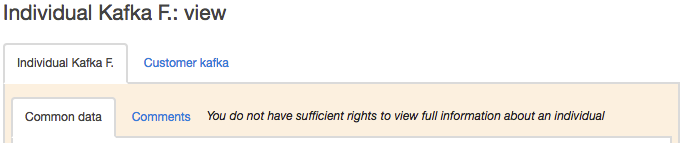
If the user doesn't have permission to edit the subject, object or document or the document refers to a closed period, the symbol  appears in the header of the corresponding tab stating that the data on it cannot be changed. The colour of the field around the tab becomes red and the Save and Delete buttons are hidden:
The pages contain dialog boxes and tables. The boxes can be of various types:
-
regular boxes for typing in information (for example an individual's name), they have a blue outline when selected:

-
boxes which may be filled manually or automatically by the system while saving the page; these boxes have a blue background:

-
boxes filled using autonumbering, next to such boxes is a button to edit the value generated (the presence of this button depends on the substitutions used in the autonumbering) and also the
button to remove the autonumbering:
-
blocked boxes cannot be edited; such boxes have a gray background:

-
drop-down lists to select one of the existing choices:
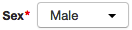
Mandatory boxes are in bold and marked with an asterisk.
In lookups, you can only specify entities which have previously been registered in the system:
As you type in, the system automatically suggests suitable variants, or you can simply use  to search for an entity in the appropriate registry. With
  , you can view information about the entity, for example, you can open and edit a basic contract. To clear the box, use
  .
.
To select a date use the calendar, which opens when you click  :
:
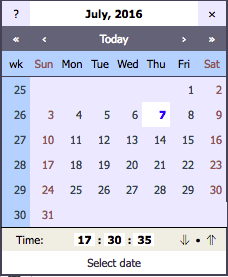
You may specify not only the date, but also the time and for this, an additional row may be shown in the calendar. Using the arrows, you can select the beginning (00:00:00) or the end(23:59:59) of the day, and with the point, you can set the current time.
If your values are incorrect, they are highlighted with a red outline:
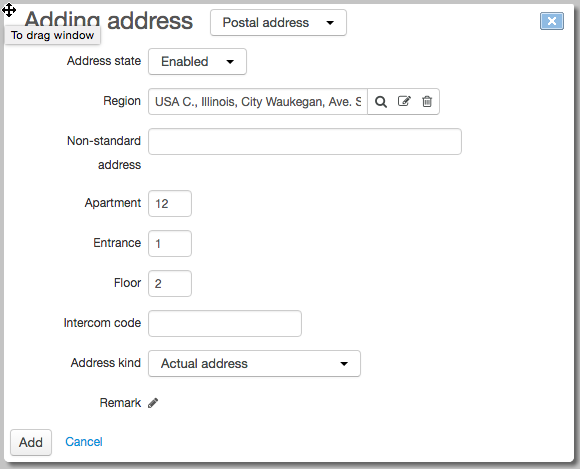
Pop-up windows can be moved by the top left corner:
Information messages, warnings, and error messages are shown in the top right corner of the page and have a green, orange or red background respectively. When an error message appears, you can pin it onto the page by clicking on the message, so you see in the top left corner. An unfixed message disappears from the page in 10 seconds.
